Monday, March 20, 2017

Best Camp Sight Selection Criteria

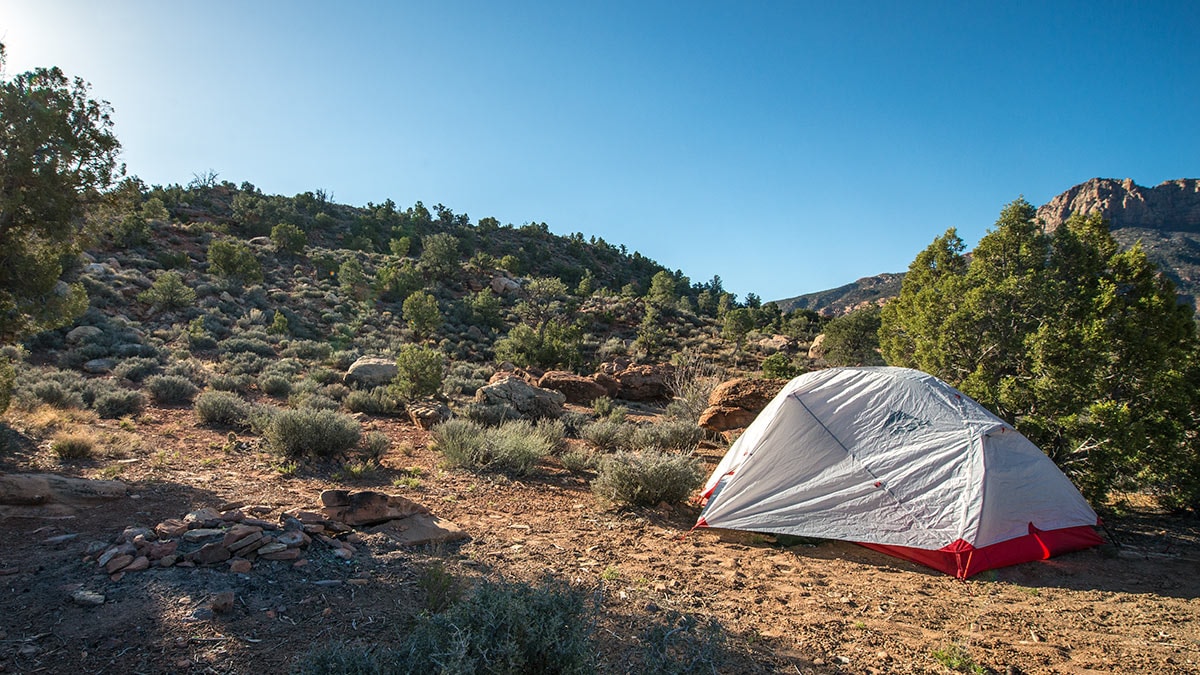
What makes the best camp sight? Have you ever seen a camp get flooded by rising water levels or runoff down a hill? Clearly that is not a good sight. Start searching for your site well before dark. Water access is an important factor. Look at your topo map; open circles indicate flat land, while stacked lines ringing a site can be good windbreaks. Cold air flows downhill, so higher land will be warmer at night. Anticipate how terrain could intensify weather. Could a long valley become a wind tunnel? Where will the runoff flow in a storm? What will attract lightning? Use natural advantages, seek shady forests in the summer, maximize southern exposure on cold days, and "choose a dry, sunlit spot with a steady breeze in mosquito country. Think, Anticipate. Here is some good information inspired by BackCountry.com, a growing provider of quality camping gear.

Ground Surface

Where you choose to sleep will be an important decision when picking a campsite. It’s crucial to pick a spot with flat, well drained ground to pitch a tent.
BCRE_130226-0116
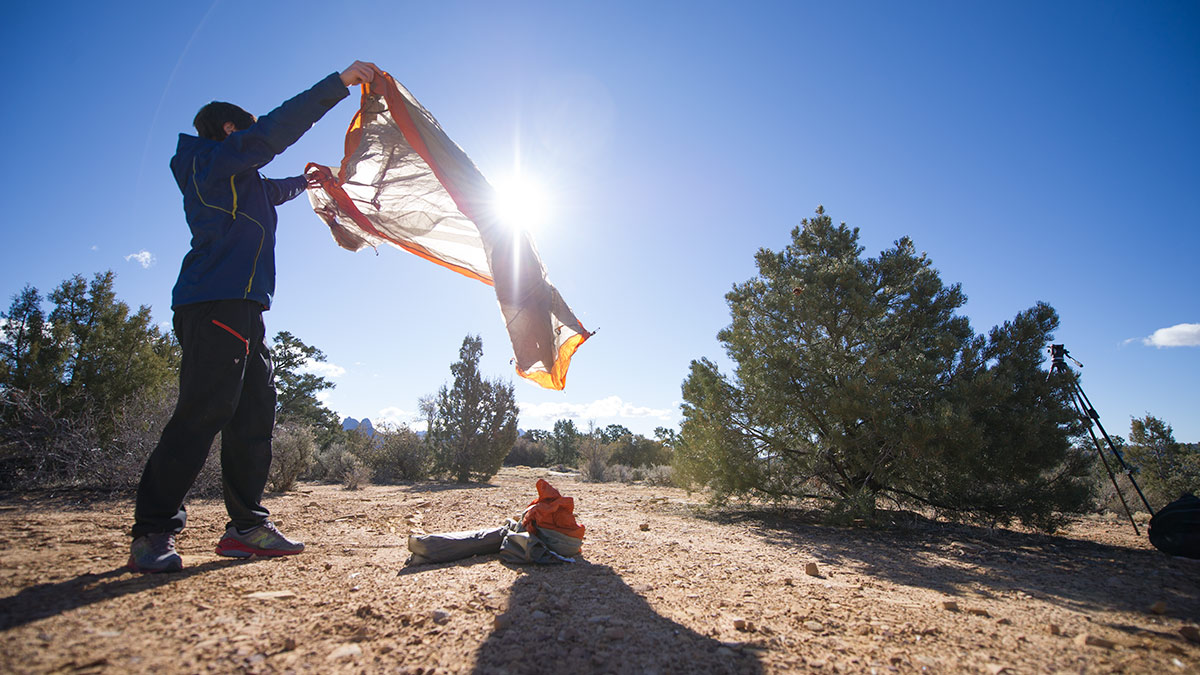
Making sure that your flat ground is even is also important. Even ground with no sharp protrusions will help you sleep soundly. Flat areas covered in grass or sand are two prime choices, if available.

Shade

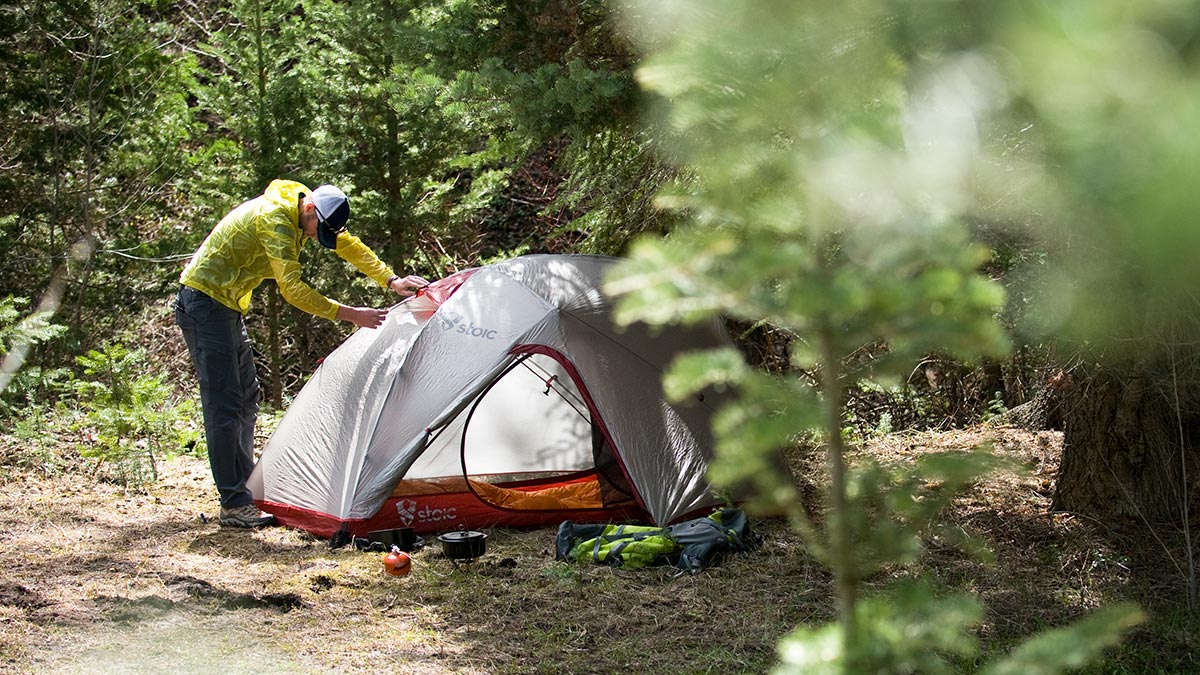
After flat ground, shade is the second most important factor when choosing a campsite. Having permanent shade throughout the day isn’t necessarily mandatory. But shade in the at the right time of day is nice. Being awoken at 7 a.m. by a blazing hot sun broiling your tent is unpleasant in hot weather. At the same time, morning sun will dry tents and warm you up on cold mornings.
BCRE_110525-308
In the desert, shade throughout the day is a plus. Just make sure you pick an open area to set it up, and be cautious of the infamous desert winds.

What’s Above You

For the sake of your own safety, always be aware of what’s looming above you. Don’t choose to set up beneath a dead tree branch with the reasoning that ‘it’s still standing, so it’s probably safe.’ Same goes for rock slide and avalanche paths, as well as pitching a tent beneath a loose rock ledge. Always be cautious of these sorts of hazards, because Mother Nature isn’t always forgiving.

What’s Around You

Not only is it important to think about what’s above you, it’s also smart to note what’s surrounding you. You may not want to be camped right on the water’s edge due to bugs, thirsty animals, and flooding risk. But if you’re out there hauling your own water, it sure does help to be relatively close to a water source so you’re not breaking your back lugging precious water about. (*JR note: Rising water levels can be a hazard and running water noise can impair hearing things that you may need to hear.  So within 100 yards of  fresh water for convenience, but not too close.*)

If your forecast notes high winds, consider settling down behind a windbreak such as large boulders or a stand of trees. Don’t be caught on the flat open ground during a windstorm—it’s not a pleasant experience.

Privacy

Although neighbors can be a good thing, you don’t always want another party 20 feet away from you. Finding yourself a little bit of privacy makes your camping experience all that much more enjoyable, and really highlights the excitement of getting out into the wilderness. This doesn’t mean you have to backpack in 10 miles, or four-wheel in for hours just to get away from everyone else (although this kind of privacy sometimes can’t be beat). It’s easy enough to get off the beaten path without overexerting yourself or your vehicle. So don’t settle for the first spot you see if it’s surrounded by other folks or too close to the trail. Go out and find yourself a new—and better—spot!

Space

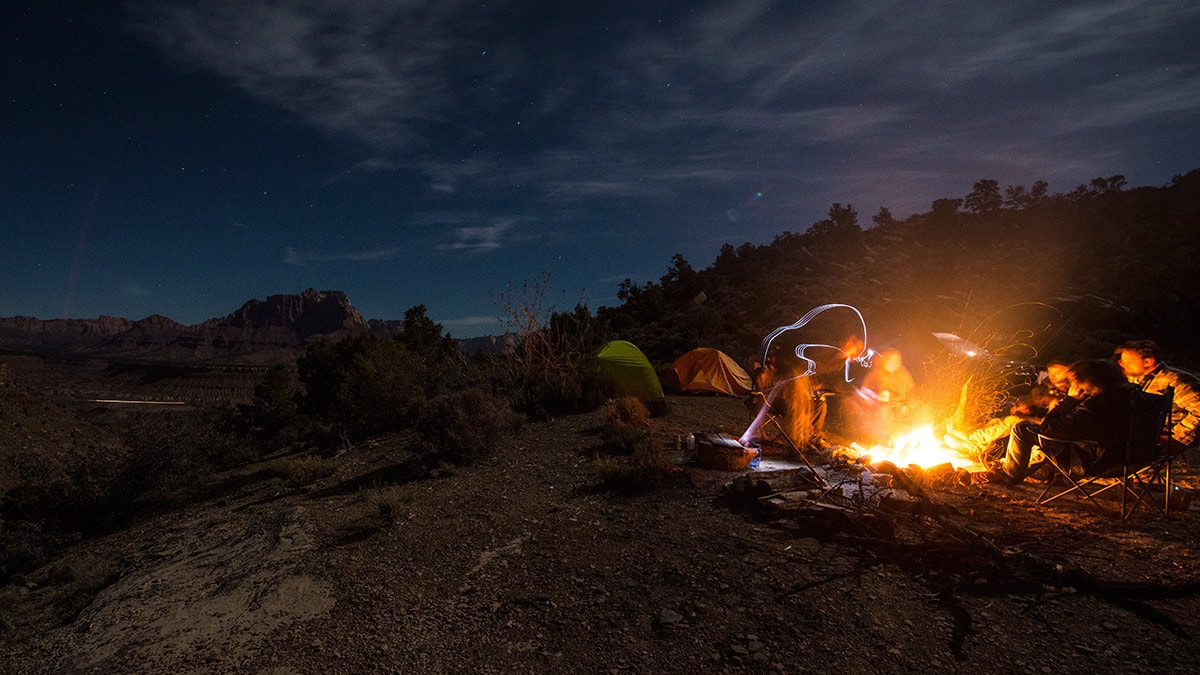
With ground surface, shade, and privacy settled on, it’s now time to discuss ample camping space. If you’re out backpacking and pitching a sole tent, there’s not as much of a need for a ton of space. Alternatively, if you’re with a larger party and lots of gear, you’ll need to find yourself a bigger spot. Tent space and kitchen space are obviously two of the most important spatial factors. But don’t cut corners if there’s fun and games to be had. Be sure to choose areas which allow for any activities you may have brought along. After all, just because you’re camping doesn’t mean you have to sacrifice all the comforts of home.


BCIM_140314_IWM0274

When choosing your own area for a campsite, it’s important to just keep in mind what exactly it is that you’re looking for. The number of people, dogs or no dogs, activities, trail access, nearby water sources—all of these will play into your perfect camping spot. So go out there and find yourself in nature—just be sure to be safe, have fun, and always leave the area just as clean as you found it.

Security

In a SHTF scenario, you want a camp sight that offers concealment and cover yet provides a look out point or points with the ability to see and hear what is coming from a distance.  For large groups, set up camp in concentric rings, with the command post in the center.  Have three (or more) outposts in a triangle (symmetric) shape that can see and provide cover fire for each other.  An additional layer of outer security is good if you have the numbers to provide early engagement of intruders before they get to your camp, or to be behind them if they get through. A Scout or Patrol Team that is on the move provides an extra element of unpredictable security.  The use of Night Vision and Intruder Detectors are recommended.


Inspired by BoysLife.org: How to build a survival shelter

BAD PLACES TO BUILD A SHELTER

  1. Anywhere the ground is damp.
  2. On mountaintops and open ridges where you are exposed to cold wind.
  3. In the bottom of narrow valleys where cold collects at night.
  4. Ravines or washes where water runs when it rains or near water that might rise.
  5. Near dead trees or ones with dead limbs that can fall in high winds.
  6. By a single tree that towers above the rest that could serve as a lightning rod.
  7. Rocky ledges or below loose, boulder-strewn slopes where falling rocks or even a full-blown landslide, mudslide or avalanche could wipe you out.
For additional information see the following links:  
Blog Table of Contents 

Sunday, March 12, 2017

Emergency Essentials Disaster Preparedness

http://beprepared.com/disaster-preparedness?sc=BLOG&oc=BP030717VAULT7

 
The above link provides useful information that is free to learn on the following topics and more.

For additional information see the following links:  
Blog Table of Contents

5 TIPS TO STAY SAFE DURING CIVIL UNREST

Germany is encouraging her citizens to get their emergency prep together, just in case of more civil unrest and other catastrophes. Venezuela is running out of food, and residents are taking to the streets.  We’ve even seen riots in our own streets here in the United States. Political demonstrations have a more threatening feeling than they have in the past. These are just a few examples of the unrest happening throughout the world, and if things continue how they’ve been going, things might get even worse.
When your streets turn ugly, there are certain steps to take that can help you stay safe. Hopefully you will never be in such a dangerous situation, but since things like demonstrations, riots, and civil unrest can happen abruptly, knowing what to do before it happens is crucial. These 5 steps can help you stay safe during civil unrest.
  1. Stay Tuned
Literally. Information will be your best friend before and during a crisis situation such as civil unrest. Stay aware of any local situations that could escalate into riots. Know where the danger zones are and steer clear of them before unrest even hits its peak. The Survival Mom even suggests following rabble-rousers on Facebook or Twitter so when they publicize their events, you’ll know exactly where not to go. While a crisis is ongoing, keep your television and/or radio tuned to your local news station. Should the power be out, make sure you have an emergency radio (battery operated of hand-crank) so you will still have a way of gathering information.
  1. Collect Resources
Pantry Stay Safe During Civil UnrestJust like any natural disaster or emergency, having the resources already on hand will be a tremendous help during times of civil unrest. Since there’s a good chance you will be confined to your home during these times, you will want to make sure you have enough food to get you through.
Civil unrest is often associated with looting and riots. As such, grocery stores may be emptied or, if they’re not, they may be difficult to get to due to blocked streets and dangerous situations. Having an emergency food storage will allow you to stay inside until things blow over.
Aside from food, collect alternate power and light sources, along with things to keep you warm, including sleeping bags and portable heaters. Power might get shut off due to demonstrations or riots, leaving you in the dark. Depending on the time of year, things could get uncomfortably cold. If you own a firearm, having sufficient ammunition to defend your home might also be in order. Be prepared for any situation.
  1. Stay Home
One of the most important strategies in staying safe during civil unrest is to stay home. Home is generally the safest place to be during civil unrest. If you’re inside when riots or other unrest begins, don’t go out to get a better look. The last thing you want is to be involved in the chaos. However, should you find yourself outside of your house when unrest breaks out, stay away from the active areas and make your way back home as quickly as possible.
  1. Have a Safe Room
Safe rooms are an important thing to have in your home, especially if you live in a high tornado or hurricane area. These disaster specific safe rooms can also be used to help protect you from not just natural disasters, but fire and looters as well. FEMA’s guidelines for safe rooms are mainly for natural disasters, but they can easily be upgraded for fireproofing and bulletproofing.
  1. Situational Awareness
Being aware of your surroundings is important on a day to day level, but crucial during times of unrest. Keep your wits about you and your eyes and ears open. This means stay focused on getting out of a potentially bad situation. Keep your phone in your pocket (unless absolutely necessary), as focusing on a text or call can distract you from what’s really going on. Keep your focus on the present, at what is happening around you. This way, you can spot trouble before it escalates to an obvious level.
This entry was posted on September 14, 2016 by Emergency Essentials.

For additional information see the following links:  
Blog Table of Contents 


Friday, March 3, 2017

The SHTF Day One

THE BIG EVENT HAS HIT, things are in TOTAL CHAOS. Thanks to the Red Flag Warnings, we are safe at our Retreat.

What now?

What do we do first?

  1. Set up 24-7 Security with Night Vision and Communications.  Our post on Country Security can help.  If you are stuck in the city, put together a neighborhood security watch.  See Urban Security Plan. and the Security Patrol Pack post.  City dwellers should be prepared for Rioting and Looting.  The Prepper Handbook, available for $4.99 on Amazon, outlines a detailed home security plan.
  2. Set up your Intruder Alarm systems and trip wires so you can detect unwanted visitors. Expect a Power Outage soon, if it has not already occurred. If you do have power, black it out at night, so you do not attract people to your home during the most difficult time to defend it.
  3. Move your cars to set up a protective cover around your house to better secure the area. Block the road/drive to restrict access to unwanted guests.
  4. Distribute Ammo at strategic lookout points and cache some off site for future needs (should already be done).  Hopefully you have enough Ammo.
  5. If conditions permit, make one last trip out (armed) to stock up on any last minute supplies as in the future, Salvaging may be the only way left. Use credit cards as long as they are accepted. Then you should have enough cash to cover inflated prices while "Only Cash" is being accepted.  Then have enough Silver and goods for Barter after paper money becomes worthless. First Aid supplies will become important soon.
  6. Store all the Water you can.  Fill tubs, pots, bottles, etc.
  7. Reach out to your neighbors.  Set up Communications and begin to develop Actionable Intelligence.
  8. Initiate Pandemic precautions if necessary. 
  9. Rehearse your Group Security Drills (should already be done).
  10. Along the road, or near the church, plant some Turnip seeds for the masses, perhaps some other Seeds for Survival. Turnips are cheap, grow well and are ready to eat in 20 days. This is for your defense because if people are starving, they will be willing to kill to feed their children. 
  11. Hunker down, stay hidden and quite.  Do not draw attention to yourself.  Communicate only with trusted neighbors.  Try to survive the next few days without any casualties. Then start trying to organize your neighborhood. The Prepper Handbook, available for $4.99 on Amazon, outlines a detailed neighborhood organization plan. 
Later, plant any crops you can for this time of the year. See our post on Vegetable Planting Dates. Start as soon as you safely can because the Vegetable Days to Harvest is 20 to 120 days IF it is the right season.  You must have enough food stored to carry you through to the spring when planting normally occurs for most vegetables.
Do NOT expect to live on Wilderness Survival alone.
IF  you are NOT ready, see our Step by Step Prepper Plan to help get you there.
Print this out, along with other key information and save it in a file or note book.
Good Luck!
For more information:
Blog Table of Contents
Power Outage Preps
Power Outage Heater
DIY Solar System 
The SHTF Day One
Survive a 2 week Power Outage

Alone Survival Show Pack Contents

Monday, February 27, 2017

Alone Winners Pack List

As we watch the survival show Alone, we all think about what ten items we would pack. With season 3 finished, we know what things the winners packed. This could be a good indicator of what tools would help insure our success. 

But before we talk about what the winners packed, lets look at a few of the things that the winners did NOT take:
  1. Bow and Arrows
  2. 12 X 12 Ground Cloth
  3. Roll of Duct Tape
  4. Bivy Bag (Gore-Tex)
  5. Food Rations
The Bow and Arrows could be used to harvest larger game for substantial food supplies that would make the difference between surviving and thriving. For this reason, it is something I would include in my list. Having made my own bow and being a decent shot with them, I know it is not easy task to get within re-curve bow range of wild game, but with out one, big game are impossible. Bow fishing is another avenue to food that such a tool offers. Winners didn't take food rations either, instead opting for long term tools over short term substance.

My list would also include the Bivy for warmer sleeping.  This would make it unnecessary to burn excessive calories building a more elaborate shelter. A tarp and para-cord lean-to will be sufficient.

Here are the common things selected by the winner:
  1. Multi-seasonal sleeping bag that fits within provided backpack
  2. Flint or ferrous rod set
  3. 2 quart pot with lid
  4. Ax
  5. Hunting knife
  6. Saw
  7. 550 para-chord - 20m
  8. Small gauge gill net (12' x 4' with 1.5" mesh)
  9. Canteen or water bottle
  10. Small shovel
  11. Slingshot/Catapult + 30 steel ball bearings + 1 replacement band
  12. 3.5 lb roll of trapping wire
Often I debate on whether to have an Ax or a Saw, but the winners took both. My list includes neither as I planed to use the Bivy in a mobile lean-to for shelter and burn logs in half instead of spending calories chopping or sawing them.  With the right hunting knife like a Tom Brown Tracker 1 Survival Knife, light chopping can be done.

Season 3 winner, Fowler, took a few unique tools including a Shovel, Leatherman and a sling shot although I never saw any of them giving him any advantage.  While Fowler did not take a hunting knife, his shovel was sharp for multi-purposes cutting and chopping making it a good multi-purpose tool. The Leatherman was also multi-purpose having a knife blade (he took no hunting knife), file, needle nose pliers, wire cutters (and more), which would have been handy had he taken the wire for snares. 

Season 1 winner, Alan, took a 3.5 lb roll of trapping wire, which was unique but used for snare traps, where as other participants used para-cord which failed because it was easy to chew through. He also took a Water Bottle, in addition to his 2 quart pot, which was a bit unique. With the importance of water, I can see the value in this rationale.

Below is the list that I would pick; what would you pick?


If there was no flowing or tide water, I might forgo the gill net and replace it with the water bottle.

My next step is to try using these 10 tools for a week long survival camp out to see how it works out. You might say that I'm in training for a future show.  I think it is safe to say that this is the best survival show on TV and that the $500,000 prize makes it even better. 

For additional information, see the following links:


Wilderness Survival TEST
 
Survival Pack (Security Patrol or Bug Out pack)  
Greenbriar (catbriar) 
Survive on a Deserted Island

Top 10 List of Prepper info
Top Rated Prepper Handbook Posts of all time

Top Rated Prepper Website
Top 15 Prepper Movies or Shows

Or click on a label below for similar topics.

Wednesday, February 1, 2017

Free Trade vs Duties


The United States has long been in favor of Free Trade because, as a leader of the industrial revolution, we were a major exporter with a favorable trade balance. Having free trade and open markets we could export into was to our advantage.  But times have changed.

Starting in the 1990's the US began to see a trade deficit. Today we have a huge Trade Deficit where we buy over 1 Billion dollars PER DAY more than we sell.  That is one billion dollars poorer that our country becomes each day and one billion dollars per day richer that foreign business men become who then buy our US businesses.  Currently they own about half of them.

Free Trade is no longer an advantage for the US as we are now the worlds largest importer and largest consumer market. The only advantage that Free Trade offers now is to the Elected Officials who get the campaign contributions from the companies that benefit from all the jobs they have moved out of the US.

Key points to consider:
  1. Both Corporate Taxes and Import Duties increase costs that are paid for by the consumer. 
  2. Corporate Taxes on US companies causes them to be less competitive against foreign imports.
  3. Import Duties make foreign imported products less competitive.
  4. Which ever is the most competitive sees job growth, the other sees job losses. 
So the question is who do we want paying our taxes and being less competitive:  US Companies or Foreign Corporations?

But lets talk about the numbers to put things in perspective.  According to the World Trade Organization, the average duty charged by the US is 3.5%. (trade weighted average is 1.25%).  The average duty charged by the rest of the world is 9.2%

Using the 3.5% and 9.2% rates and the US 2016 trade, US Citizens paid approximately 101 Billion dollars more in tariffs than we collected. Unfortunately, no one seems to report this information. This may be the Free Trade that our special interest funded politicians talk about but it is NOT Fair Trade. 

Oh, but what about trade wars???? As the biggest market in the world, the other countries need the US far worse than we need them.  But the problem is, they do not play fair. For example, when George Bush applied fair tariffs, other countries retaliated with tariffs on US Cars and Oranges.  Why these?  Because they are produced by "Swing States" Michigan and Florida in the US Presidential Election.  Americans need a tough person negotiating with these countries, not our bought and paid for political candidates in our House and Senate. 

The solution is:
  1. For every import in to the US; charge the highest tariff that the importing country charges the US on any product we export to their country.  If they want "Free Trade", then they must move to "Fair Trade."  How can anyone whine about this? This fixes the fair trade issue and saves 101 Billion dollars for American Citizens, although it may cost a lot of our politicians some campaign contributions. 
  2. Then we cap monthly imports from every country at the same dollar value they buy from the US and phase it in over 6 years to minimize repercussions and give the US manufacturers time to gear up production and hire employees to meet what will soon be a growing demand.  
  3. Any country or company that bucks the system is banned from importing in to the US for 1 year for the first offense; 5 years for the second and permanently for the third.  This includes trying to lobby or bribe our politicians with campaign donations. 
Problem solved.

Will there be some hiccups, yes, but often we must take one step back to take two steps forward.

Conclusions:
  1. Free Trade is NOT good for American Citizens. 
  2. Free Trade IS good for companies that exported our jobs overseas and wants to bring the cheap Wal Mart Quality junk back in to the US to sell it.  Further, they will spend millions to brain wash the American public and buy off our politicians.
 
For additional information see the following:


Thursday, January 26, 2017

Ozark Prepper Homestead

 Preppers are self-reliant and like doing things on their own.  But have you given thought to being part of a Prepper Homestead?  The authors of this blog have their group, with a few openings, but the My Ozark Homestead group has lots of room for people wanting a Prepper or summer retreat in the remote mountains. Click the link above to see what they have to offer... things like a green house, garden, live stock and underground bunker.
http://myozarkhomestead.com/ 

For additional information see the following:

Saturday, January 7, 2017

Modern Home Security

According to the FBI, a home burglary occurs every 13 seconds. These criminals tend to be desperate people looking to steal things they can turn into quick cash. To read more on this topic, click HERE
 
Burglars do not like lights, loud sounds and dogs. Some of the best things you can do are good lighting, motion lights or alarms and a big dog bowl. Solar powered motion detecting lights last for years, maintenance free and work during power failures (or sabotage). Here are a few good passive lights that are solar powered and use common AA so they can double as solar battery chargers:
2)  Economy version

Another good deterrent are light timers that make it look like you are home, even when you are away. By plugging a timer in to a timer, you can add an element of randomness that prevents burglars from realizing you are actually gone and just using a timer that is on/off at the same time each day Here is a budget for some simple security improvements:


Go one step further and add my favorite motion detecting game camera for $110; batteries and 32 GB Memory chip not included.  There are cheaper ones, but these are the best and good alkaline batteries last 6 - 12 months; good rechargeable batteries last about 4 - 6 months.

For additional information see the following link:

Tuesday, January 3, 2017

Alone Survival Plan


You have been accepted as 1 of the 10 participants on the HISTORY CHANNEL ALONE Survival Season 10.  

What is your plan?


First you must select the 10 personal items to carry with you.  Here are some lists to consider: 
1. Season 1 Participants pack list
2. Season 2
3. Season 3
4. Below are the 10 items I would select.  It is a nomadic list intended for a light, low energy, temporary camp sight, but heavy on tools for getting food, especially larger animals that could prove to be a game changer in the competition. Imagine getting a hundred pounds of deer or wild pig that could last you for months if rationed and supplemented with other things.

After my 10 items are selected, and I've been delivered to my location, here is my plan:

Day 1: 
  1. Scout around for an hour or two to select a temporary camp site.  Look for a dry location, out of the wind (if cold), in a windy area (if there is heavy bug infestation), near water and sunshine. Be sure to gather any edible plants, cordage or potential resources when ever traveling & always have your Bow & Arrows with you.
  2. Make a good spear / walking stick for defense and spearing fish using my hunting knife (personal item #1) and later fire harden the tip.
  3. Set up a quick low A frame tent with the para-cord (personal item #6) and the common tarp.  Design in some water catchment at the bottom of the tarp sides by having a curled edge.
  4. Gather in enough small fire wood to stay warm through the night, or camp near a large log that you can burn without having to cut it up.
  5. Dig a hole in your shelter to set up a small fire with a pot of water ready to light and boil later.  Plan on a bigger fire out front at a later time.
  6. Working our way further and further from camp, set out fishing lines until about two hours before dark, using my fishing hooks and string (personal item #7). It is extremely critical that you get your food generation in place early, before your energy starts running low.  Automate the process as much as possible with traps and nets that can make multiple catches with out having to be reset.   
  7. As time permits, set out two predator traps using spring loaded wire lines with large treble fish hooks (personal item #7), then a few snare traps using the wire (personal item #8) until an hour before dark.
  8. With an hour till dark (4 fingers), head back to camp, checking the fish lines on the way.  Be sure to gather any edible plants when ever traveling.
  9. Cook in your boiling water and consume a pound of fish (if any) along with any plants you were able to forage.  Dry the remainder of your meat over the fire.
  10. Spread fire ashes around your camp to deter insects.  Pee on several trees around your camp to deter 4 legged guests.
Day 2:
  1. Check fish lines, predator traps and snares. Be sure to gather any edible plants when ever traveling and seek additional resources.
  2. Process any meat acquired. Build racks to dry meat and places (bear bag) to store food in multiple places so it is protected from predators. Para cord or vines can suspend it up high. Use waste / by-products for chum to draw other fish and as bait.
  3. Continue setting out more as you move further and further from camp and look for additional camp sites in the process.  Primitive Sapiens were wanderers, hunters and gathers, until they were able to domesticate animals (goats) and grow plants (wheat) around 9,000 BC.  This is not going to happen here, so as resources are exhausted near our existing camp, we will move to a new (more bountiful) area.
  4. Once all fishing lines, snares and predator traps are set and harvested, begin hunting using the Bow and Arrows (personal item #10)
  5. Spend the last hour of daylight each day at camp improving the comfort and convenience, but no more as it consumes too many calories and our primary focus needs to be on finding calories, not expending them. For example, do NOT cut small firewood pieces but rather leave them in long lengths and burn them in half as you use them
Day 3 forward:
  1. Continue checking fish lines, snares, foraging for plants, hunting and seeking a more bountiful camp site. In the process, move the fish lines and snares to new locations further from the existing camp, but closer to the next camp site. 
  2. Relocate to the new camp site as your daily harvest begins to decline. Its important to build food stores for a rainy day. 
  3. Grow your tool supply.  Flint nap some arrow and spear tips; build more traps.  Each time you relocate, leave a fish line behind that can catch multiple fish and that you can come back to periodically and check.  Stash extra tools, cordage, food, etc. at old camp locations that you can come back for if needed.  Don't try to carry everything with you. 
  4. Broaden the range that you cover.  Exploring forward on some days, inland on some days and periodically go back to check the left behind traps.  

For additional information see the following links:


Survival Pack (Security Patrol or Bug Out pack)  
Greenbriar (catbriar) 
Or click on a label below for similar topic

Sunday, January 1, 2017

5 C's of Survival

Like the Rule of 3, the 5 C's of Survival is a tool to help you organize your thinking process.  This is particularly important in a Survival Situation because your decision making ability is impaired as you become tired, dehydrated and hungry.  

The five (5) C's include the following:
  1. Cutting tool - Knife
  2. Combustion - Fire
  3. Cover - Shelter
  4. Container - boil water
  5. Cordage- multiple uses
Dave Canterbury of Dual Survival introduced this in Dual Survival - "After the Storm," aired in August 13, 2010. I like to imagine a picture of a camp fire, in front of my tarp shelter, with a small pot suspended over it by paracord as I cut food for the pot. Regardless of how you remember, these are some minimal needs for wilderness survival. Our Wilderness Survival Pack video below shows a lot more to consider as does the Deserted Island Survival link.


For additional information see the following links: 
Blog Table of Contents;
Alone Survival Show Pack Contents
Alone Season 2 Pack Contents 

Edible Wild Plants
Greenbriar (catbriar)
Cattails 
Dandelion
Chickweed & Hackberries
Survive on a Deserted Island