Saturday, March 17, 2018

Growing Your Own Food From Seed


The Value Of Sustainability Today
Today’s economy has a dramatic aspect to it. The moment you think things have become stable, something strange knocks everything out of whack again. It wouldn’t be so bad if you had the resources to weather the storm in some degree of comfort. But the vast majority of people just aren’t in such a position, and are further hampered by debt.

There needs to be a way of escaping things like debt, reducing living expenses, and increasing the solidity of your current situation. One thing that is characterizing many households today is the sustainability movement. This is a kind of living wherein individuals try to concoct solutions that preclude government reliance.

In terms of energy, three modes of electrical production are becoming more mainstream for residences: solar energy, wind energy, and water energy—all three of which can be installed on a property that has a fast enough body of water nearby and regular wind for about $15k, depending.

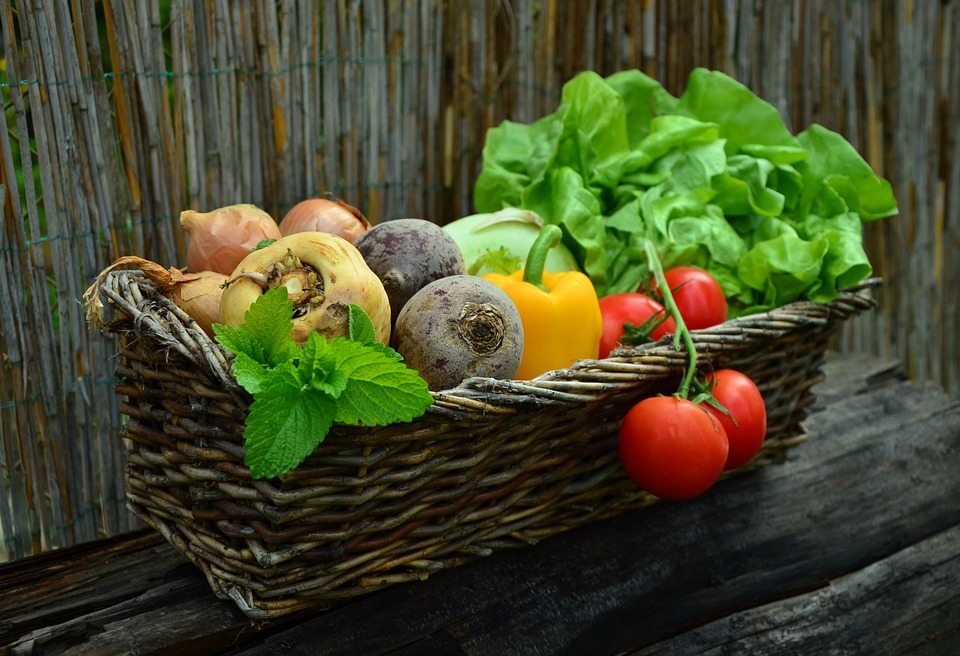
Something else that is quickly becoming a characteristic of the modern household is a vegetable garden—something which bears its own elegance. There are plants which will grow in just about any environment, and don’t necessarily require a deluge to maintain. Certain cacti can grow in almost any environment, and many seed-bearing plants with nutritional benefits (like hemp) are likewise easy to grow.
 
Husbanding Your Garden
As you might expect, a market has developed due to this shift in consumer sensibilities. While it may take a few years to get a garden’s growth at such a level where it regularly produces enough for your household, this gives homeowners not just a useful hobby, but a means of deferring costs related to nutrition.

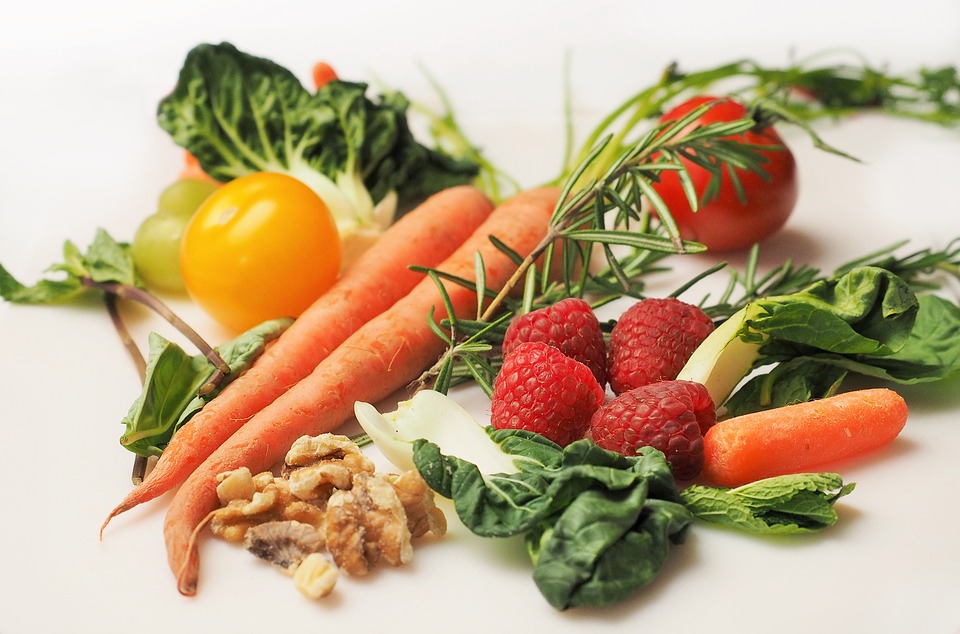
It is possible to remain healthy from an entirely vegetarian diet sourced through a garden. Chia seeds, pumpkin seeds, flaxseed, hemp seeds—these all have protein and fats necessary for health. Tomatoes, potatoes, mushrooms, strawberries, blackberries, raspberries, apples, squash, peppers, onions—these are just a few available plants you can husband toward healthy, regular yields annually.

To get started, you want to do your homework beforehand, know the seasons of your local community, and source your seeds from a purveyor that understands the market, and what that market is demanding.

At https://www.myseedneeds.com/collections/vegetables you can find seeds provided through a top-tier operation; according to the site: “Seed Needs consistently ships thousands of seed packets on a weekly basis. The vast majority of our seed products are packaged based on customer demand, and are stored in a temperature-controlled environment for maximum freshness.”
Comprehensive Sustainability
Now imagine a possible scenario: after five years, you’ve got a garden that is regularly productive and has facilitated its own micro climate which requires much less intervention than it did from you previously. Additionally you don’t need energy from “the grid”, because you use solar, wind, and water energy.

What you save in electricity pays for the garden. If you’re savvy with plumbing, you may be able to use nearby water-sources as means of irrigation, cutting out your water bill. The coup de grace? A crypto currency mining operation in the basement. Double down on architectural developments and install a prefabricated structure on your property.

If you are savvy, you have the potential to live entirely off the grid without losing money or health while yet providing a service to society that returns you assets. It’s conceivable you could do all this for well under $100k, and be without the bounds of debt in under ten years.

Yes, it will take a lot of work—but it’s not something entirely impossible. Still, you may not want to go with so comprehensive a venture. It may be wiser to start small—with a simple vegetable garden in your backyard, or hung from a planter in the window of your apartment.
For additional information see the following links:

Tuesday, March 13, 2018

Sour Dough Bread

To make bread, our pioneer ancestors began with a "Starter" which makes the bread rise without yeast, baking power or baking soda.  Here is a recipe that can make one (1) to thirty two (32) one (1) cup Sour Dough Bread Starter, a.k.a. Pioneer Yeast. Prior to this, Corn Bread and Hardtack was popular along with Pemmican.
Starter
Ingredients

  1. Wide mouth sterile quart canning jar(s)
  2. Dechlorinated Warm water (1800's recipe specifies spring water) - 1/2 cup to start. If your tap water is treated with chlorine, you can purchase de-chlorination tablets to remove it, or let it sit out for 24 hours. The minerals found in "hard" water may help the yeast culture develop, so using distilled water is not recommended.
  3. 3-1/2 to 32 cups of Flour (depending on how much you want to make) - 1/2 cup to start
  4. Cheese cloth or clean dish cloth
Procedure
  1. Pour 1/2 cup of water in to your jar and stir in 1/2 cup of flour.

  2. Cover with the cloth and set this in a warm place for 24 hours.

  3. After the first 24 hours, add/feed 1/2 cup of water and 1/2 cup of flour; mix in, cover and sit in a warm place for 24 hours. Repeat this every 24 hours until the mix looks frothy or foamy, then its ready.  This can take up to a week and make lots of starter. You can bake lots of bread, share them, freeze them, dry them, or discard the extras. 
  4. Dried starter is a good back up and can last for years.  Simply spread it thin on wax paper and dry at the lowest dehydrator setting; then store in a cool dark place in a container. Freeze in a freezer bag when starter is at peak rise; this should last a year.  To use these, bring to room temperature and feed.
  5. Put your starter in a jar with holes punched in the lid (is must breath) and keep it refrigerated.
  6. Feed it 1/2 to 1 cup of flour and water once per week while refrigerated.  Note:  A watery layer called "Hooch" will form on the the top.  You can stir this back in, or pour it off to promote faster growth.
  7. Before making sourdough bread, you will need to make a sponge or proof your starter.  To do this, remove the starter from the refrigerator and bring it to room temperature.  
  8. Add 1 cup of flour and 1 cup of warm water to your quart jar of starter and stir until lumps are gone.
  9. Place this in a warm place until it shows lots of bubbles on the surface.  Now it is ready to use in bread. 
When baking bread, 2 cups of starter are the equivalent of one (1) table spoon or packet of modern dry yeast which is sufficient for a loaf made from 3-4 cups of flour.  To make waffles or pancakes, just use the proofed starter after it has risen to its peak.

Remember to feed room temperature starter every day and refrigerated starter every week by adding equal amounts of water and flour (1/2 cup each).
Bread
Ingredients
  1. 2 Cups proofed starter
  2. 4 tsp sugar
  3. 2 tsp salt
  4. 2 tbs butter or oil
  5. 3 cups flour

Procedure
  1. Mix starter, sugar salt and butter together and mix well. On a floured work surface, knead in flour a little at a time, forming a flexible bread dough.  Make sure the dough is well kneaded.
  2. Put the dough in a bowl and cover with a cloth; place in a warm place and let it rise.
  3. After rising, press it down and knead it again.  Then make it into a loaf and place in a lightly greased loaf pan.  Cover with a cloth and allow it to rise again in a warm place until it doubles in size.
  4. Bake in the oven for 30 to 45 minutes at 300 to 350 F. Bread is done when the crust is brown and the bottom sounds hollow when thumped with a wooden spoon. 
  5. Remove bread from pan and allow to cool before slicing
  6. Enjoy

For additional information see the following links:
Blog Table of Contents

Complete Sustainable Living Plan
Blog Table of Contents
Acorn Flour Pancakes
Pemmican Recipe
Hardtack Recipe
Corn Bread
Sour Dough Bread
Corn Fritters
Apple Cider Vinegar
More on making Vinegar
Backing Soda vs Yeast
Baking Soda uses

See similar topics by clicking on the labels below  

Saturday, March 3, 2018

Best Survival Knife

If you could only have one tool for hunting, fishing, camping or wilderness survival, what would it be? Lets talk about the characteristics of the best knife:

TBT-010
  1. Be durable, hold a good edge and does not break or bend under the most severe use.  This means is should be made in the USA.
  2. Able to chop, saw and cut rough, large and small fine things.  
  3. Usable for hammering, digging, prying and starting fire.
  4. Easily skin, break bone, and process an animal for smoking
  5. Have a solid, comfortable, full tang hand grip, and ideally a hole for a leather strap.
  6. Has a hardy scabbard, that holds the knife safely and securely, yet has it accessible.
  7. It should be a good defensive tool and be able to be strapped to a pole to make a Spear.
Here are some top candidates that my research revealed:

Tom Brown Tracker
Buck Knives - top rated knife
Tops B.O.B. Brothers of Bushcraft Survival Knife - top rated knife
Case Large Buffalo Horn Hunter Knife 
Case X-Small Leather Hunter Knife - good for people with smaller hands
Gerber Strong Arm Serrated Fixed Blade Knife
KA1218-BRK USMC Fighter Serrated
Ka-Bar BKR7-BRK Combat Utility
Ka-Bar Bk16 Becker Short Drop Pt


The Tom Brown Tracker TBT-010 is this Authors personal favorite fixed blade survival knife, having owned more than two dozen different knives.  Without a hatchet, axe or machete, this the best Wilderness Multi-Tool that you can chop or saw wood with.  Here is a video that shows its many uses starting at 5:00.  If you also have a chopping tool, a lighter knife like the Buck or Case is better.

But what about the Every Day Carry (EDC) rule?  This is the idea that you can only count on the tools, that you have on you each and every day.  This usually means a folding knife and compromising some of the heavier uses for a knife.

My top folding knife options are:

Case Amber Bone Hunter Trapper Pocket Knife
Buck 278BKG Fld Alpha Hunter
Kershaw Blur, Olive/Black
TOPS Knives MIL SPIE 3.5 Folding Knife
 
All top quality knives; the Case is the most versatile; The buck is hardy and better for skinning game while the Kershaw is the best defensive knife.  TOPS has a lot of good knives and the SPIE is sharp and holds an edge very well. In the end, there is no knife that is the best for every use.  The answer is to go camping and try different knives to see which one you like best.

More information:
Wilderness Today - Excellent detailed knife information 
Knife Den

For additional information see the following links:
Blog Table of Contents